

so you want to knit a sweater? read this first
an all-in one-resource for what to know before embarking on your first sweater

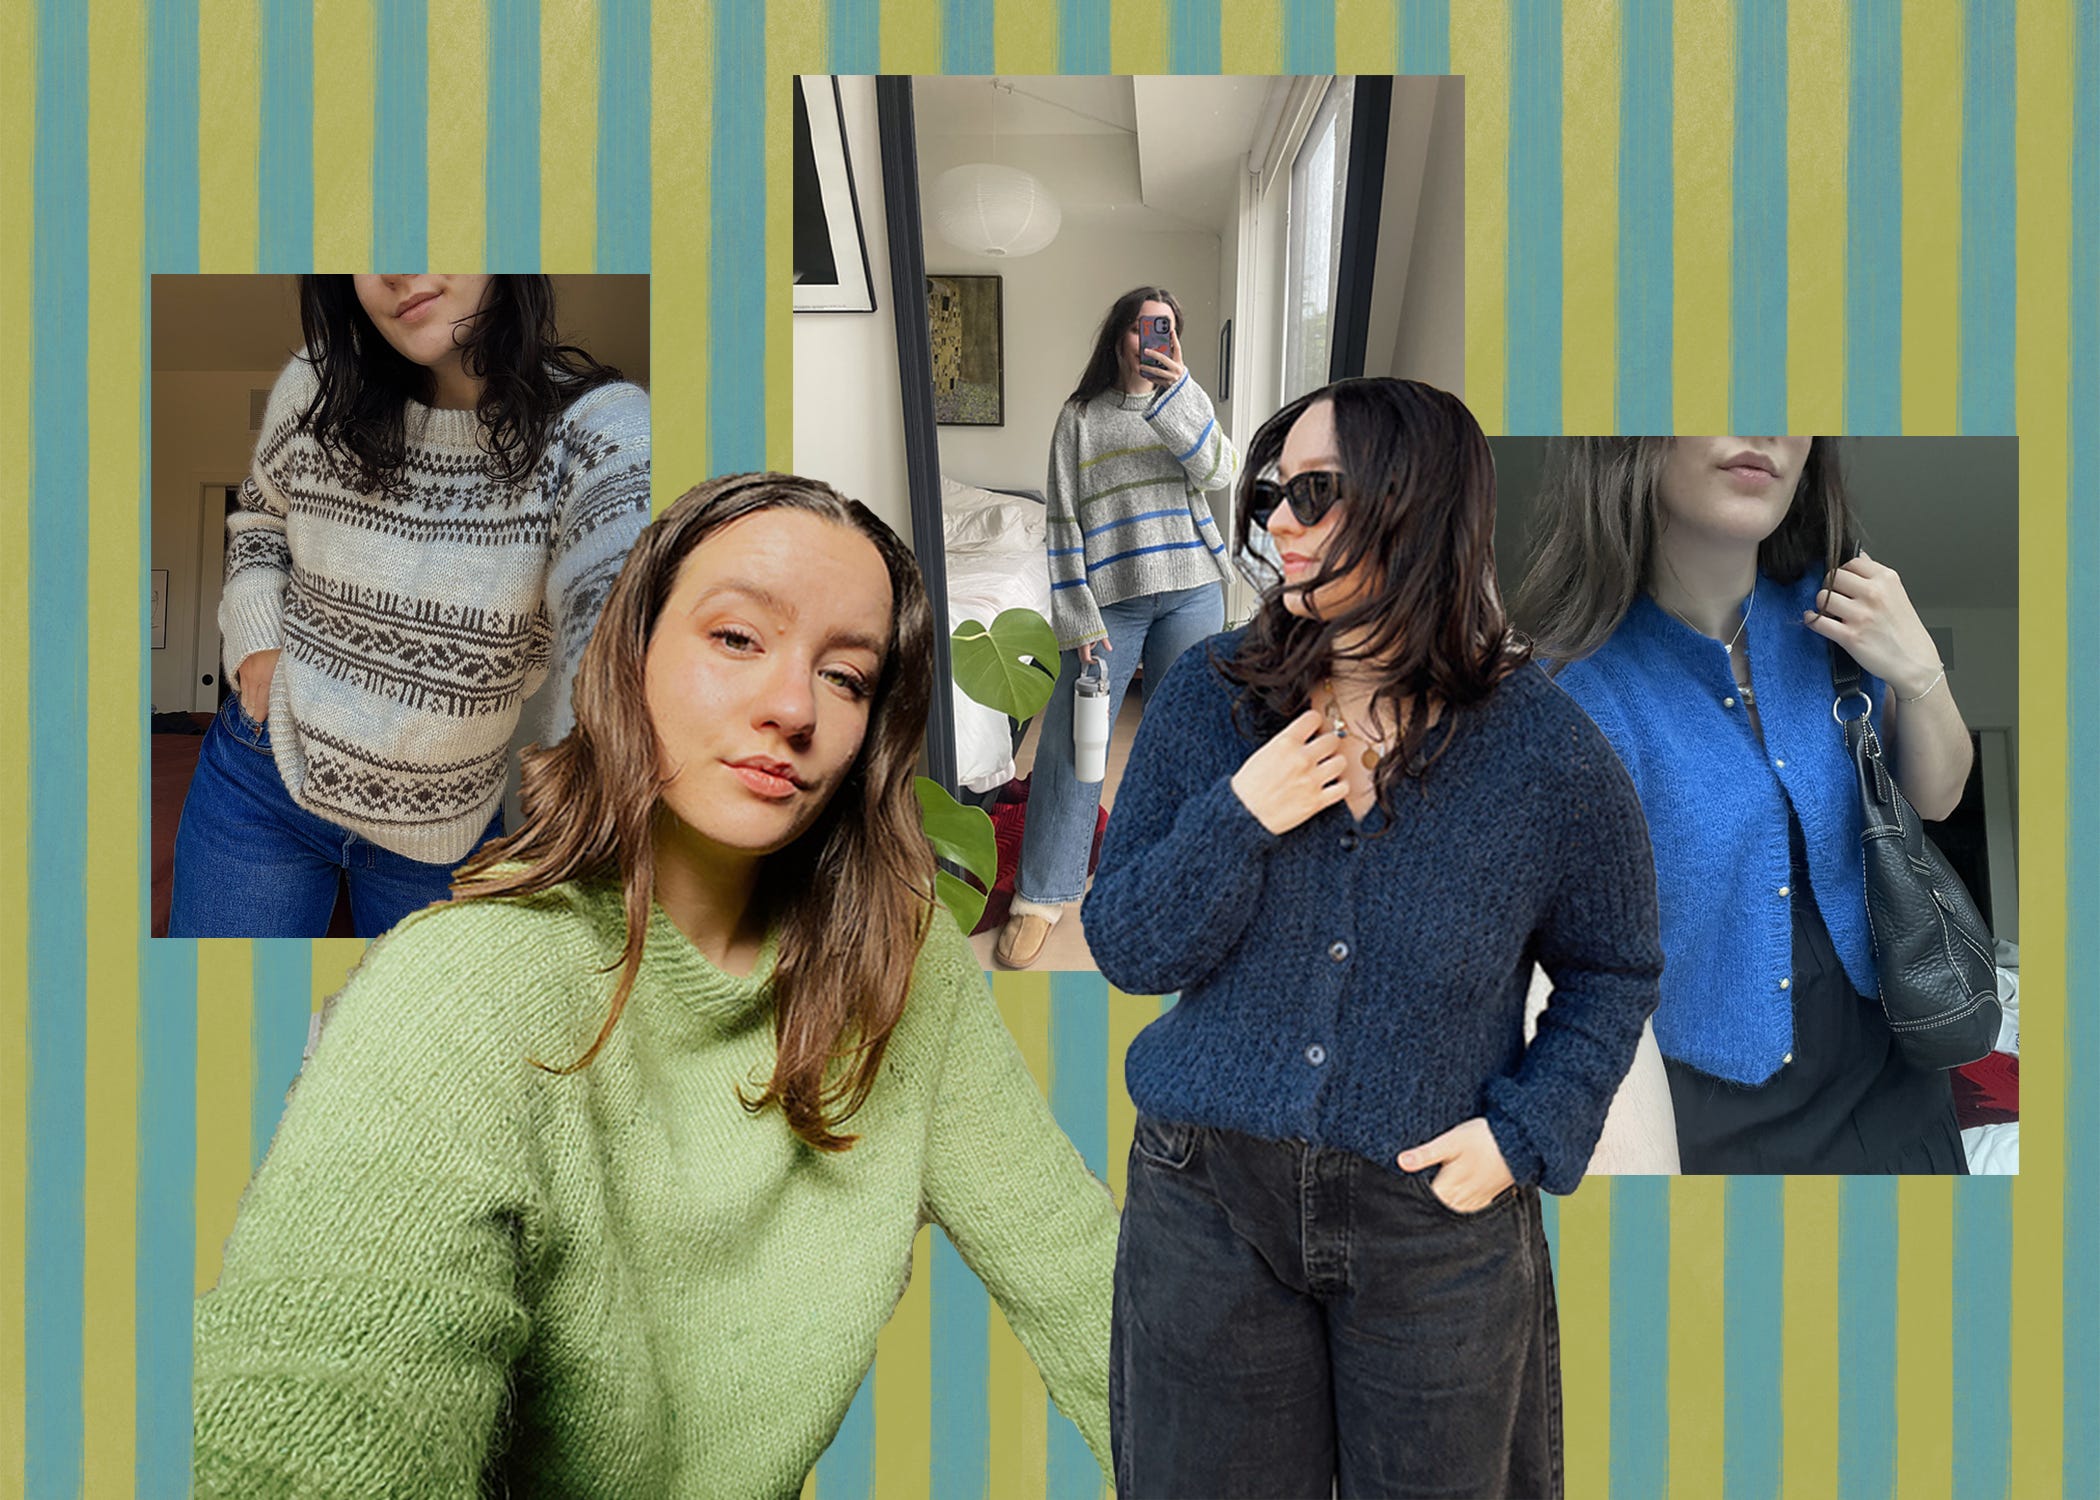
Welcome. If you’ve knit your way through a scarf or a hat and you want to start your first sweater, this post is for you. There is a lot to consider when knitting a sweater, the steaks get raised from a time commitment and price point, but getting to wrap yourself up in something you made is such an amazing reward. The purpose of this post is to hopefully not overwhelm you, but guide you through what I think is helpful know, as someone who studied fashion and has been knitting since kindergarten (but hand knit my first sweater in 2023). This is a step-by-step guide to get you started, and to reference along the way.
Also, I am going to start a thread in my chat for first time sweater makers. Pls join in and share progress pics, ask for yarn suggestions, come build some community!

Choosing a pattern
First things first, I have to talk about Ravelry. It looks like it hasn’t been updated since 2009 because it’s no frills, no algorithm, just good old-fashioned internet. Its purpose is to build community and share resources, while not being social media. You can buy patterns, create a queue of projects, and look at other people’s finished pieces to see what they could look like in a different yarn, color, size, etc. It is incredibly wholesome, and while it isn’t the best for browsing/discovering patterns, that’s what I’m here for- to recommend patterns to you. Also, there are thousands of YouTubers, bloggers and IG accounts dedicated to knitting and sourcing good project inspiration.
Top-Down Raglan: an ideal first sweater
You may have heard that the easiest first sweater to make is a “top-down raglan”. Let’s break down what that means; top-down means you start at the neckline and knit your way down to the hem in a circular motion (like one super long spiral). A raglan is a type of construction method, where the shoulder seam comes forward to the middle of the neckline, instead of to the top of the shoulder like most shirts do. Raglan sleeves are most commonly seen in baseball style tees.
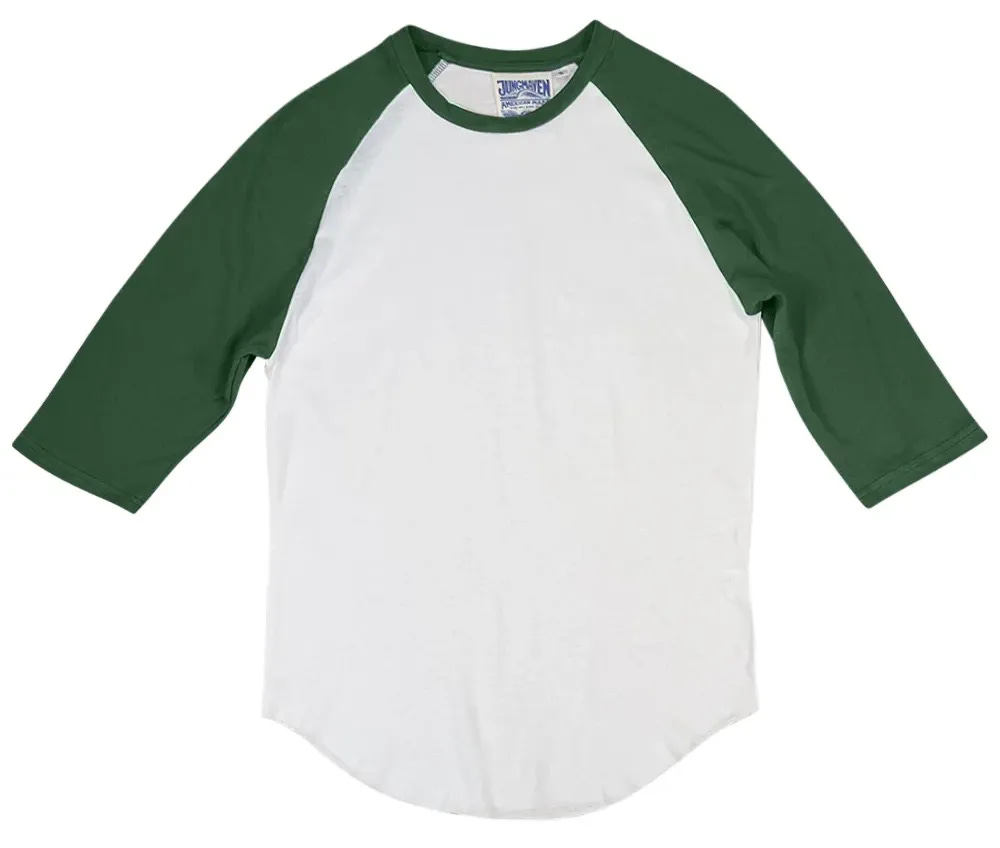
What do baseball tees have to do with sweaters? Not much, but it’s a great example to see a raglan construction. With knitting a top down raglan, you will have stitch markers along the diagonal (raglan) lines and each time you come around to a stitch marker, you increase 1 stitch on each side of the marker. This will start to form the shoulders, sleeves, and front/back yoke of the sweater. Once you work your way down to the bottom of the armpit, you will slip the stitches of the sleeves onto scrap yarn to hold them in place and start knitting down the rest of the body. Then, after you finish knitting the body, you go back and knit one sleeve at a time from armpit to wrist. If all of that was confusing, don’t worry and trust the process. If you stick to the pattern and google things you don’t know, it will all work out.
You can choose whatever pattern excites you to begin with, but for the sake of this article, I am going to recommend a few options and give you ideas for the yarns and notions that they require. Disclaimer: I have not made all of these patterns.
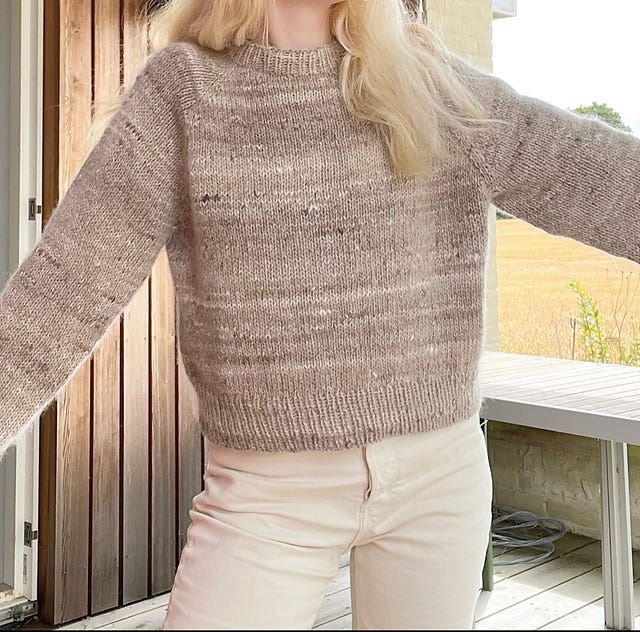
Step by Step (a free pattern!): This one uses an aran weight yarn which makes it faster to knit up, and it’s a true wardrobe staple. The pattern is written specifically for beginners, which makes it very clear and easier to read. SOLID choice.
Mia Sweater: I’ve made this one before- the broken rib is gorgeous and subtle. I omitted the broken rib on the bottom, and just finished the hem like the end of the sleeves with a twisted rib for 3/4”. If you don’t have any experience with ribbing, and that makes you nervous, choose a different pattern, but I do think this one is appropriate for a beginner if you like a lil’ extra something something.
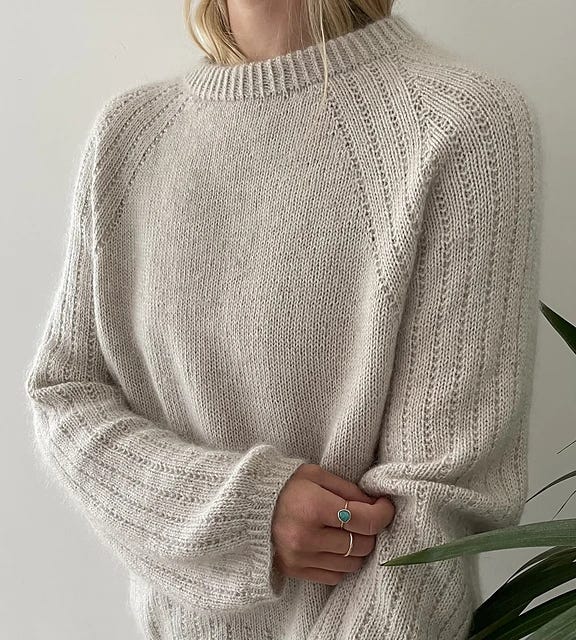
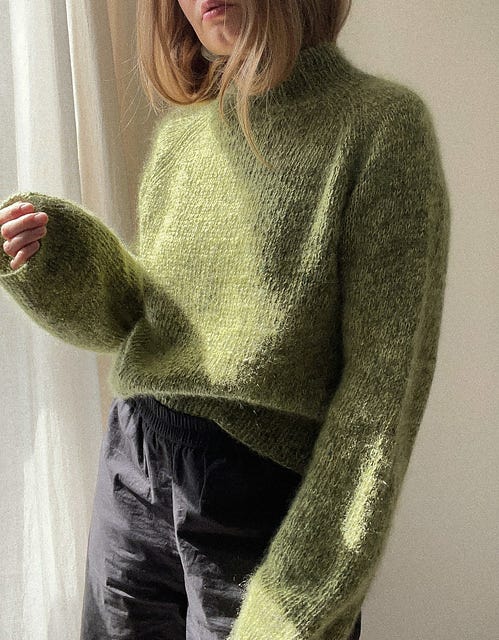
sung sweater: This one is on my favorites list, I love the triple-wide raglan lines and the ease in the body. The yarn choice for this one was beautiful too. Has a higher neckline, more of a mock neck.
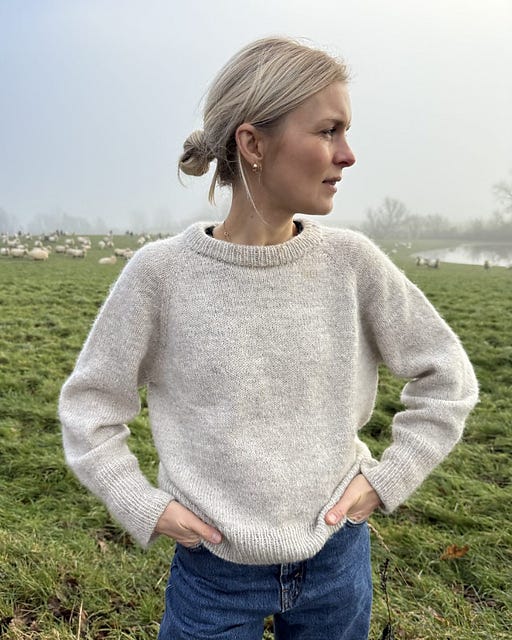
Monday Sweater: Folded over neckline (my favorite for a clean finish), elongated cuff on the sleeves, and a thicker raglan line. I’ve been meaning to make one of these for myself.
Selecting your size (ease)
Time to talk about ease!! I find people don’t pay enough attention to ease when making (or buying) clothes but it is sooo important.
Pattern sizes will typically give you 1-2 sets of measurements; your body’s measurements, and/or the finished garment’s measurements, corresponding with a size. You should see a recommendation for how much “ease” to include; to find your size, add the recommended amount of ease to your body measurement.
finished garment size = (body size + ease)
Let’s look at an example:

If your chest (measured at it’s largest point) is 95cm, and the pattern suggests 15cm of ease, you would select size 3 (110cm). If your chest was 90cm, and you were between sizes, you can choose size 2 (100cm) if you like a tighter fit, or size 3 (110cm) for a roomier fit.
This format x(x,x,x)(x,x,x) is how most (all?) patterns are written, and you will use the corresponding number in your size spot (x) throughout the entire pattern (so they don’t need to write out an entirely different pattern for each size).
Choosing the right size is important, as it effects how your finished garment will look on your body. I personally always size up if in between sizes for a roomier feel.
Choosing your yarn
Where to buy
I like to buy local and shop small for a couple reasons; one, it aligns with my values and two, they have passionate owners who ensure I buy the right yarn and often have better quality yarns and a wider variety than big box stores like Joann’s or Michael’s (no shade to them).
If you don’t live near a yarn store, you can always buy online* (Ravelry has lots of reviews of yarns which is helpful). Some places to shop online are Knitpicks, Etsy (if searching for a specific yarn), and I have to plug my local favorite Dandelion Fiber Co. for their wonderfully curated selection (great choices, less options, less overwhelm!).
*If you have sensory sensitivities with wool or other fibers, I don’t recommend shopping online.
Yarn weight/how much to buy
There are 6 main sizes of yarn, based on thickness, known as weight. From thinnest to thickest (aka lightest to heaviest), they are:
Lace
Fingering/sport
DK (double knit)
Worsted
Aran
Bulky/super bulky
Yarn is sold by the gram (25g, 50g, 100g, etc.), and corresponds to a varying amount of length (yardage/meters). You get more yardage per gram of lighter/thinner yarns, and less yardage per gram of heavier/thicker yarns.
Your pattern will tell you how much yarn to buy based on weight and yardage; for example, if a sweater requires 300g of a DK weight yarn (200 yards/50g), then that would require you to buy six 50g skeins of DK weight yarn (1200 yards total).
amount of skeins = total g needed/g per skein (6=300/50)
Choosing the right kind of yarn for your project
Choose something that excites you, because you will be staring at it for hours. I tend to use natural fibers because they are warm, breathable, get dirty less easily, stay in good condition for a long time, and don’t contain plastic. However, there are plenty of reasons to choose acrylic fibers, especially if you are allergic to wool/have sensory sensitivities, are on a budget, or don’t want to commit a lot of money to knitting before you know if you really like it.
Here is a brief rundown of some common fibers:
Acrylic $: lightweight, good for spring/summer and for people with wool sensitivities. often machine washable. man-made fiber, made of spun plastic.
Alpaca $$: one of the warmest fibers available, great for winter, softer than wool. It tends to stretch over time.
Cashmere $$$: soft and luxurious, warm, but tends to pill due to its delicate nature (needs to be cared for/shaved). I mainly use cashmere for smaller garments like scarves, mittens or socks.
Cotton $-$$: breathable, good for summer/spring sweaters, tends to be heavy and has no elasticity so it stretches out over time and stays stretched. It’s typically blended with other fibers to combat stretching and weight.
Merino wool $$: one of the softest wools available, most people who find wool scratchy don’t have as many issues with merino wool (but you know your body best). It has similar qualities to wool otherwise. Great for fall/winter. It has good elasticity, so if it stretches, it will shrink back when washed.
Mohair $$: super thin (lace weight) yarn that is very fuzzy and, when held double with another yarn, gives a nice halo effect to your sweater. You can brush your finished garment to make it extremely fluffy and fuzzy. It has good elasticity, so if it stretches, it will shrink back when washed.
Silk $$$: a strong, lustrous fiber that can provide quite a bit of warmth when knit up. It works across all seasons, but I don’t use it often due to its price point and I would be nervous to sweat in it.
Wool $-$$: breathable but warm, making it great for fall, winter, and spring. It’s durable, knits up beautifully, easy to undo mistakes with, but tends to be scratchy to some people. Superwash wool is machine washable, other types of wool are not, and will otherwise felt. It has good elasticity, so if it stretches, it will shrink back when washed.
Yarn suggestions for recommended patterns:
If you are going to choose one of the patterns above, here are my recommendations for yarns. If you need help knowing how much to buy, ask the lovely staff of your local yarn store or send me a message in the chat.
Step by Step: Lion Brand Fisherman's Wool for a budget option or Sandnes Garn Peer Gynt (& extra colorways)
Mia Sweater: Knitting for Olive Merino held with Ritual Dyes FAE or Silk Soft Mohair
sung sweater: Cascade 220 Sport for a budget option or Isager Garn Tweed held with Isager Silk Mohair
Monday Sweater: Sandnes Garn Sunday (& more colorways) held with a strand of Tynn Silk Mohair or Knitting for Olive Heavy Merino by itself
Gauge swatches
What they are & why they are important
Gauge is the measurement of how big your stitches are. Since everyone knits a little bit differently (like a fingerprint), accurate gauge ensures that your finished garment will be the same size as the pattern states. A gauge swatch counts how many stitches (horizontal) and rows (vertical) are in a square (4x4 inches, or 10x10 cm). The goal is to make sure your swatch has the same amount of stitches and rows as the pattern states.
They’re annoying to do but equally as important. Here is a video on how to do one, when you get to that point.
Gauge is also a good way to find the correct yarn weight for your project- yarns will typically have a row/stitch gauge on their label for you to align with the one from your pattern.
Notions
Metal vs wooden needles
There can be a slight difference in gauge when you knit with metal vs wooden needles, but ultimately, the choice comes down to taste preference. Some people like using metal because it’s faster and some people say that wood is too dry in their hands. I personally like using wood/bamboo needles because they are easier to control/less slick and aren’t as cold as metal in my already cold hands.
The important thing is to be consistent on needle material within a garment, so if you use bamboo needles for the body, use them for the neck too, even if they’re different sizes or lengths.
Circular needles
Knitting needles typically state the size in millimeters (what the entire world uses) and the US size (which is dumb, like Fahrenheit and inches). You will likely need a few different lengths of circular needles, as well as a couple of different sizes. This is because your circular needles need to fit the circumference of what you are knitting, so as your sweater gets wider, your needles will need to get longer, and vice versa.
Ribbing at the neckline, hem, and sleeve cuffs is always done on needles 1-2 sizes smaller than those used for the rest of the sweater. This is because rib stitches appear bigger than stockinette stitches (regular knitting/purling), and this creates more consistency. I like to go down 2 sizes for ribbing, though most patterns call for 1. It’s a taste preference.
Double point needles (DPN’s)
Good for making sleeves, a bit cumbersome to use at first. Some people prefer to use the magic loop method instead.
Magic Loop
Created so that people don’t have to buy DPN’s. You use a circular needle that is too long for your work, create loops on the sides to knit through. Choosing DPN’s or magic loop is just a taste preference.
Darning needle
Needed for sewing in tails, and has an eye big enough to fit yarn through. Here is a nice set.
Stitch markers
Needed for marking the beginning of the round and the raglan lines. I like to get removable ones in case I mess something up and need to scootch it over.
Measuring tape
Important for finding your size, and can be helpful when monitoring how long you want the sweater/sleeve length to be.
Scrap yarn (or string)
Used for temporarily holding stitches in place.
How to read a pattern
There are a few parts of a pattern:
The intro where you will find the info about yarn, sizing, gauge, needle size, etc.
Glossary of abbreviations
Knitting instructions, in sections (neck, shoulders, sleeves, body, etc.)
Most patterns will utilize asterisks (*) to signify an action you will repeat. For example, a pattern may say, “*K1, P1* and repeat * to * until end of row”. That means you are knitting then purling, every other stitch for the entire row.
Take it one stitch at a time, one row at a time, and google any abbreviations or stitches/steps you don’t know. The internet is your biggest friend.
Basic stitches to know (or learn while doing!)
K1, P1 (1x1 Rib)
German short rows (don’t lose hope w/these- the purpose is so the back neckline sits up higher than the front so it fits over your shoulders evenly and doesn’t choke you)
Twisted rib (you can do this in place of regular ribbing on necklines, sleeve cuffs, and hems. I think it looks gorgeous and more professional.)
Fixing your mistakes
It’s bound to happen at some point. Here are some resources I use for fixing my mistakes;
Tinking (knitting backwards/undoing)
Common knitting mistakes and how to fix them (holes in raglan increases!)
Frogging (undoing your work)
To-Do List
Get a Ravelry account (and feel free to add me as a friend!)
Join my chat (optional) and share progress, ask for color and yarn advice, etc! I will make a thread for first time sweater makers :)
Buy your pattern
Choose what size you want to make
Buy your yarn
Buy your notions
Knit a gauge swatch
Measure gauge swatch
Cast on!!!
My last bits of advice before you begin:
Double check when you count your stitches- you may think you know how to count, and it may be painful to count 200+ stitches twice, but if you get off by even one stitch it takes a lot more time to go back and undo your mistake then prevent it in the first place. Everyone messes this up at some point, and know you’re in good company.
Google what you don’t know- this one may seem obvious, but google is your best resource. Take the time to watch a few minutes of how to do a stitch, or cast on/off in the way the pattern recommends. Over time, you may learn construction methods for necklines, binding off, etc. that you really like and you can then apply it to other works.
Invest in good yarn, and buy only what you need- this isn’t available to everyone or a priority to everyone, I want to recognize that. However, the times when I have bought yarn with acrylic fibers in it, I’ve been sad to see them pill up or lose their shape and integrity over time. When you’re spending a lot of time on a project, you want to be able to keep it forever. I’ve never regretted buying nicer yarn, because it really does create nicer sweaters. Also, don’t buy yarn without a project in mind, in my experience, it doesn’t get end up getting used.
Take it one stitch at a time- it can feel overwhelming to get a pattern and see so many steps in front of you, in a new language that you may not understand yet. Just take it one stitch at a time.
Trust the process- exactly that. There are so many times where I try to think through a pattern before doing it, and it often leaves me doubtful and frustrated. Trust the process and it will all work out.
Don’t take it too seriously- it’s just sticks and string at the end of the day. Imperfections make it feel handmade and I think that’s a good thing. I find knitting puts me in a calming and meditative state (outside of when I’m learning how to do something, or if I have to undo a mistake). If you don’t enjoy the process, spend your time doing something you like more instead!
Love u keep me posted send me progress pics!!
the post i’ve been waiting for🥲🧶👏🏼